Well Prepared Clay is the Key to Success.
Before any throwing can commence the clay needs to be well prepared. As a beginner, I struggled to achieve any success on the wheel and the main problem was that the clay I was using was too hard.
Getting the clay centred on the wheel is difficult, as is throwing when you’re first learning. Working with clay that’s too firm, or not at the right consistency, will certainly hamper any chances of succeeding.
It’s very tempting to bypass the clay preparation stage and get straight down to the throwing, but, it’s far less frustrating and much more enjoyable to feel the clay being responsive and able to be worked into a desired work of art.
When using clay from a new bag it’s best to soften it up prior to using it.
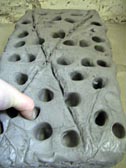
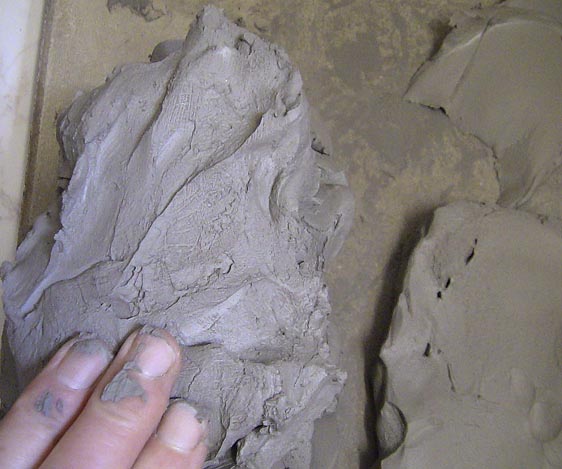
Unwrap a new bag of clay and make thumb holes into it. Sponge water into each hole.
Wrap the clay tightly in plastic. Leave for 3 days to allow the added water to soak in. After 3 days unwrap the clay and pour off any excess water from the holes. The clay is now quite soft.
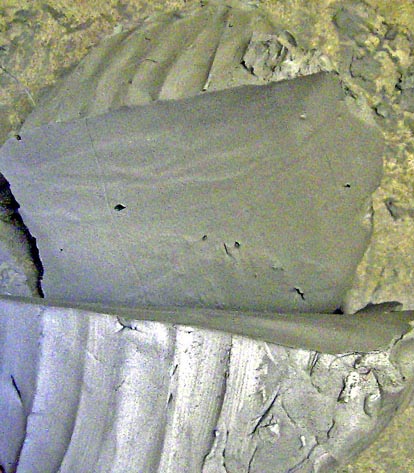
You can see some air holes in the clay. It is necessary to keep working the clay until all of the air has been removed and there are no holes left. Once the streaks and all of the air pockets have disappeared the clay is ready for use.


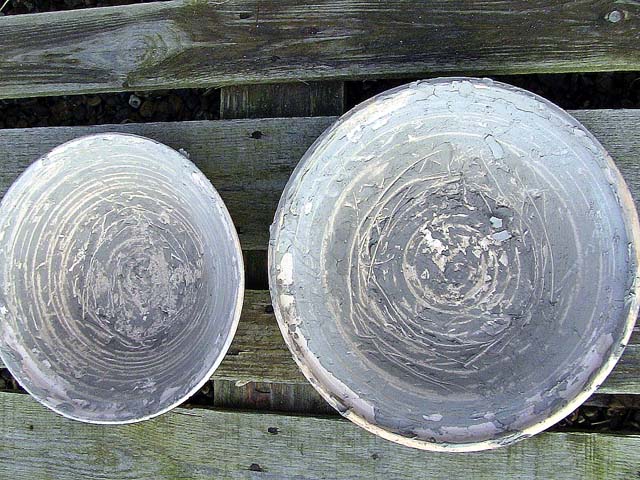
Using bisque fired bowls for drying out reclaimed clay.
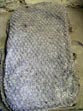
I use bisque fired bowls for drying my wet clay. I put them outside and dry the clay in the sunshine if there’s any to be had. My clay is reclaimed in small quantities as I don’t have a pug mill.
Using reclaimed clay to soften up firm clay.
I add soft clay to a new bag of clay. This is an alternative clay softening technique if you don’t have time to wait three days as in the technique above. By slicing clay from a new bag and layering it with softer reclaimed clay you can then work the clay by wedging it to the desired consistency.
- Layers of soft and firm clay.
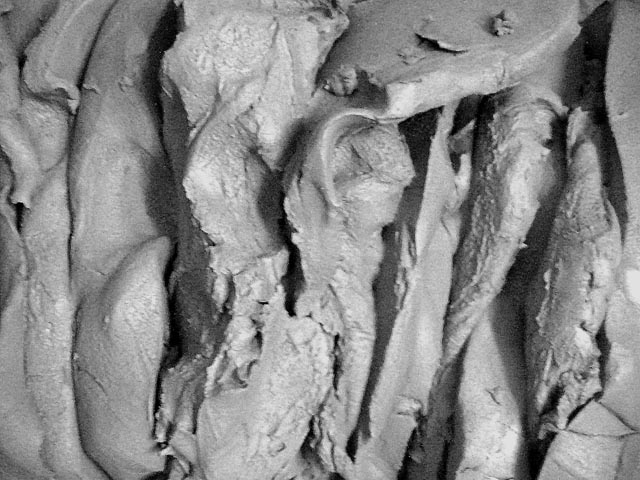
- Use wedging and kneading techniques to combine the soft and firm clay into an even consistency. Continue until even throughout and all air holes are removed.